After a few deliberations, I came to the conclusion to revise my rigs (again) and to incorporate the experiences made in recent years into a new building. I want to keep the construction as simple as possible, but also be able to use more extensive technology if necessary. So I don’t have to carry several different rigs and extensive accessories with me and can set up the desired variant depending on the conditions (wind, space, motif) at the starting point
- possibility to take pictures with my Canon S110 and Sony A6000 cameras
- optional manual and remote-controlled operation of pan and tilt adjustment and camera release
- optional FPV option or not
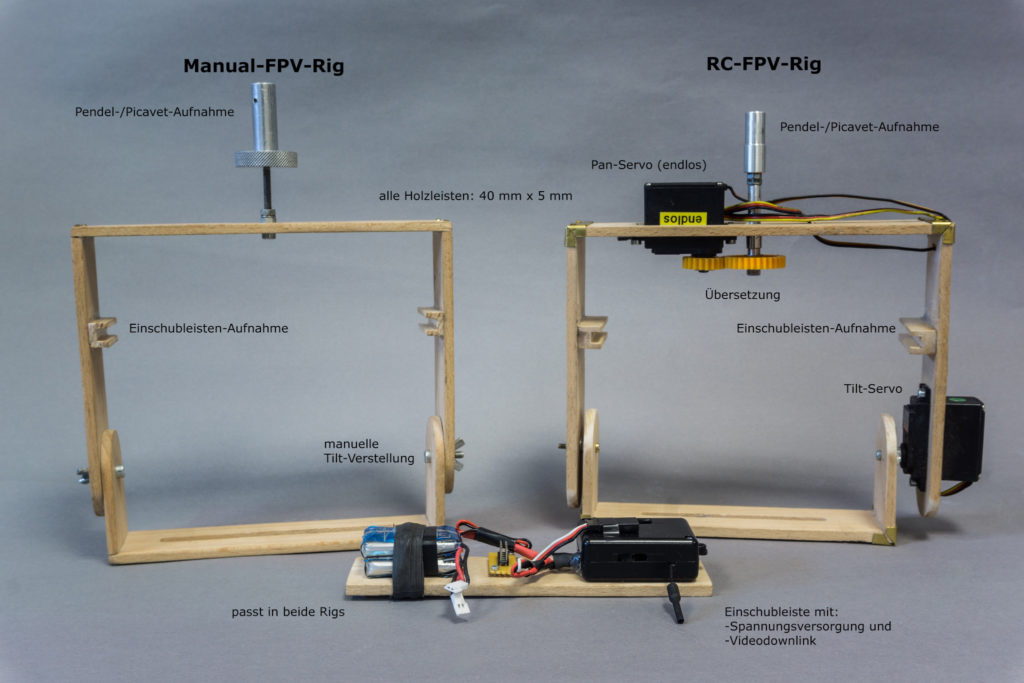
For this purpose I built 2 frames of the same size, with the dimensions chosen so that both cameras can be installed. There is also a bar that can be pushed into one of the two rigs if necessary and that contains the components for power supply and image transmission. The following possible uses are thus given:
- Variante 1: Minimal RIG

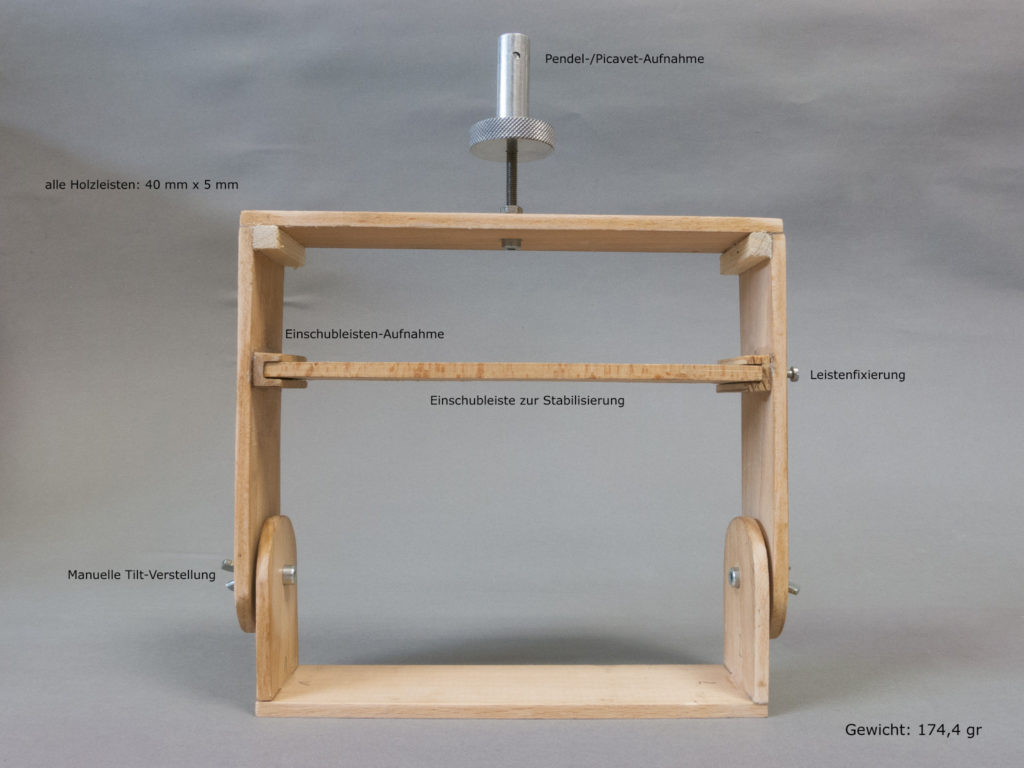
Der Rahmen besteht aus Holz in den Abmessungen 40 x 5 mm, die manuelle PAN-Einstellung erfolgt vor dem Start, die manuelle Tilt-Einstellung wird ebenfalls vor dem Start getätigt, das Auslösen erfolgt kameraintern (entweder CHDK oder mittels App), Verwendung kann mit oder ohne oberer Lade erfolgen. Bei Verwendung der schwereren Sony A6000 empfiehlt sich die Montage der Leiste aus Stabilitätsgründen
- Variante “: Manuelle FPV-RIG

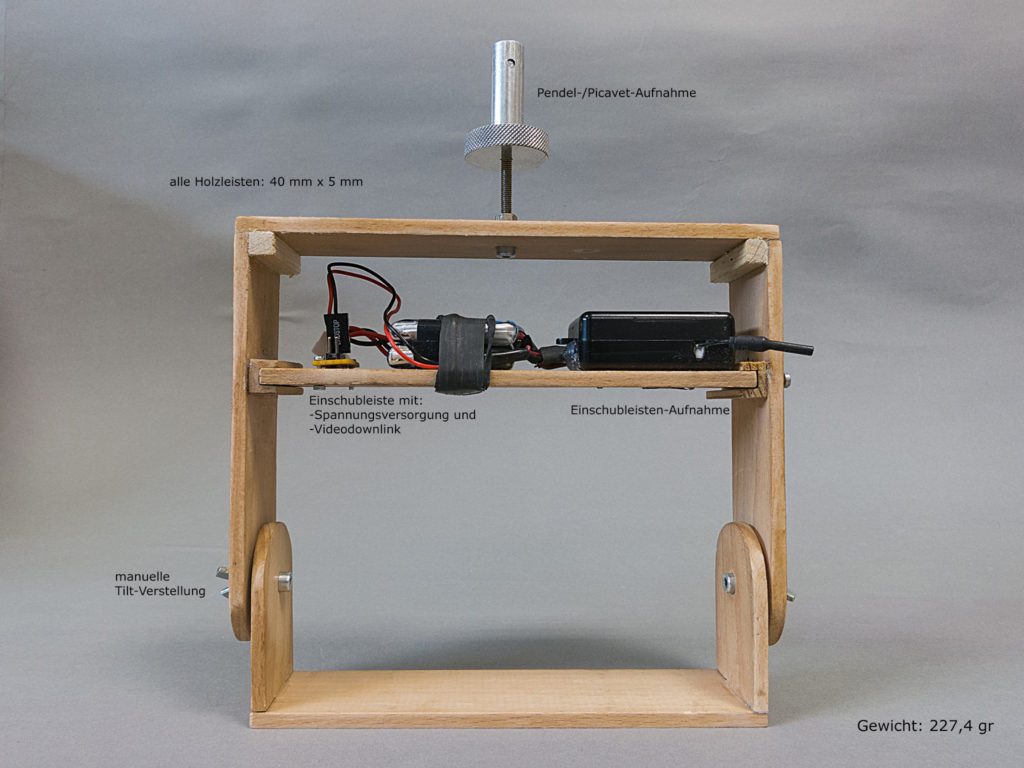
Der Rahmen besteht aus Holz in den Abmessungen 40 x 5 mm, die manuelle PAN-Einstellung erfolgt vor dem Start, die manuelle Tilt-Einstellung wird ebenfalls vor dem Start getätigt, das Auslösen erfolgt kameraintern (entweder CHDK oder mittels App), , Kontrolle des Bildausschnittes über Videodownlink
- Variante 3: RC-FPV-RIG

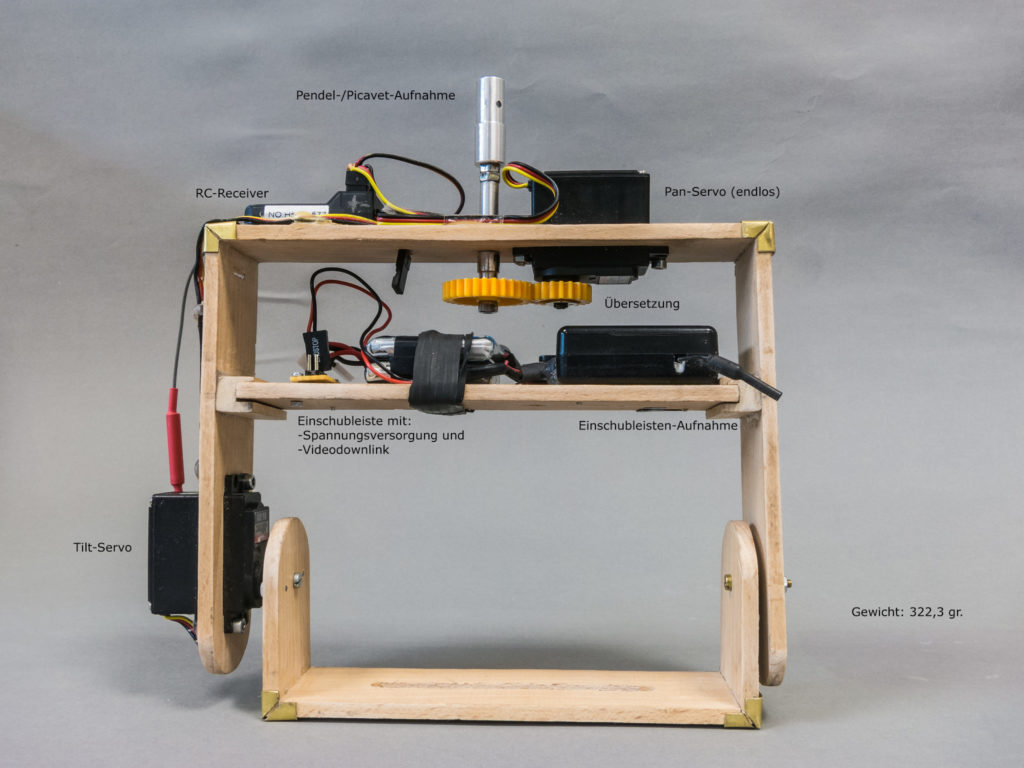
Der Rahmen besteht aus Holz in den Abmessungen 40 x 5 mm, Pan- und Tilt-Verstellung werden über Servos ausgeführt, wobei der Pan-Servo auf endlos umgebaut ist, die Kontrolle des Bildausschnittes geschieht wiederum über Videodownlink
Weitere Aussichten